MY BLOG ACCOUNTS


In this blog, we'll see how to create a React App, routing it and deploying it and hosting it.
For creating a React App, NodeJS needs to be installed. You can install it from: https://nodejs.org/
After installing, open command prompt and run the following commands.
node -v
npm -v
Both these commands display the version of node and npm that have been succesfully installed.
Now that we have node and npm, we can create a React application named first-react-app
Run this command to create the application first-react-app:
npx create-react-app first-react-appRun this command to move to the first-react-app directory.
cd first-react-appRun this command to check in which the first-react-app directory is stored.
dirRun this command to move to the first-react-app directory.
cd first-react-appRun this command to start the React application.
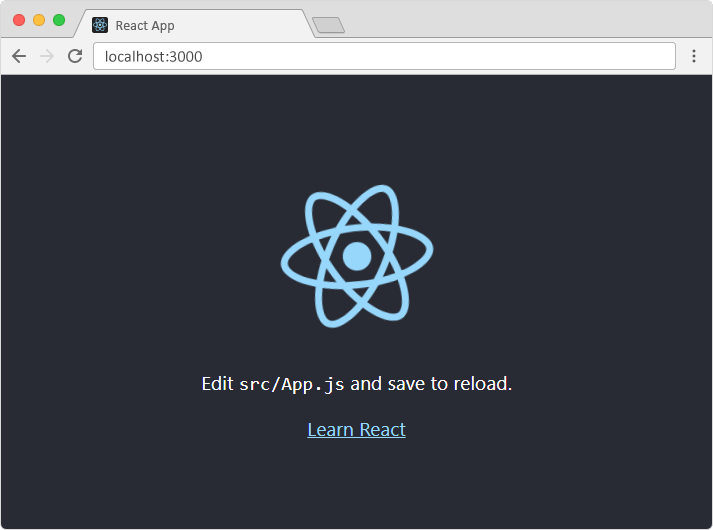
npm startA browser will open up with the newly created React application. If not type localhost:3000 in the browser to run the application.
After running the npm start command you'll see the following lines in your terminal
You can now view create-react-app in the browser.

Local: http://localhost:3000

On Your Network: http://192.168.1.3:3000
Run the URL of the highlighted line on your mobile phone's browser. Make sure both of your devices are connected to the same network.
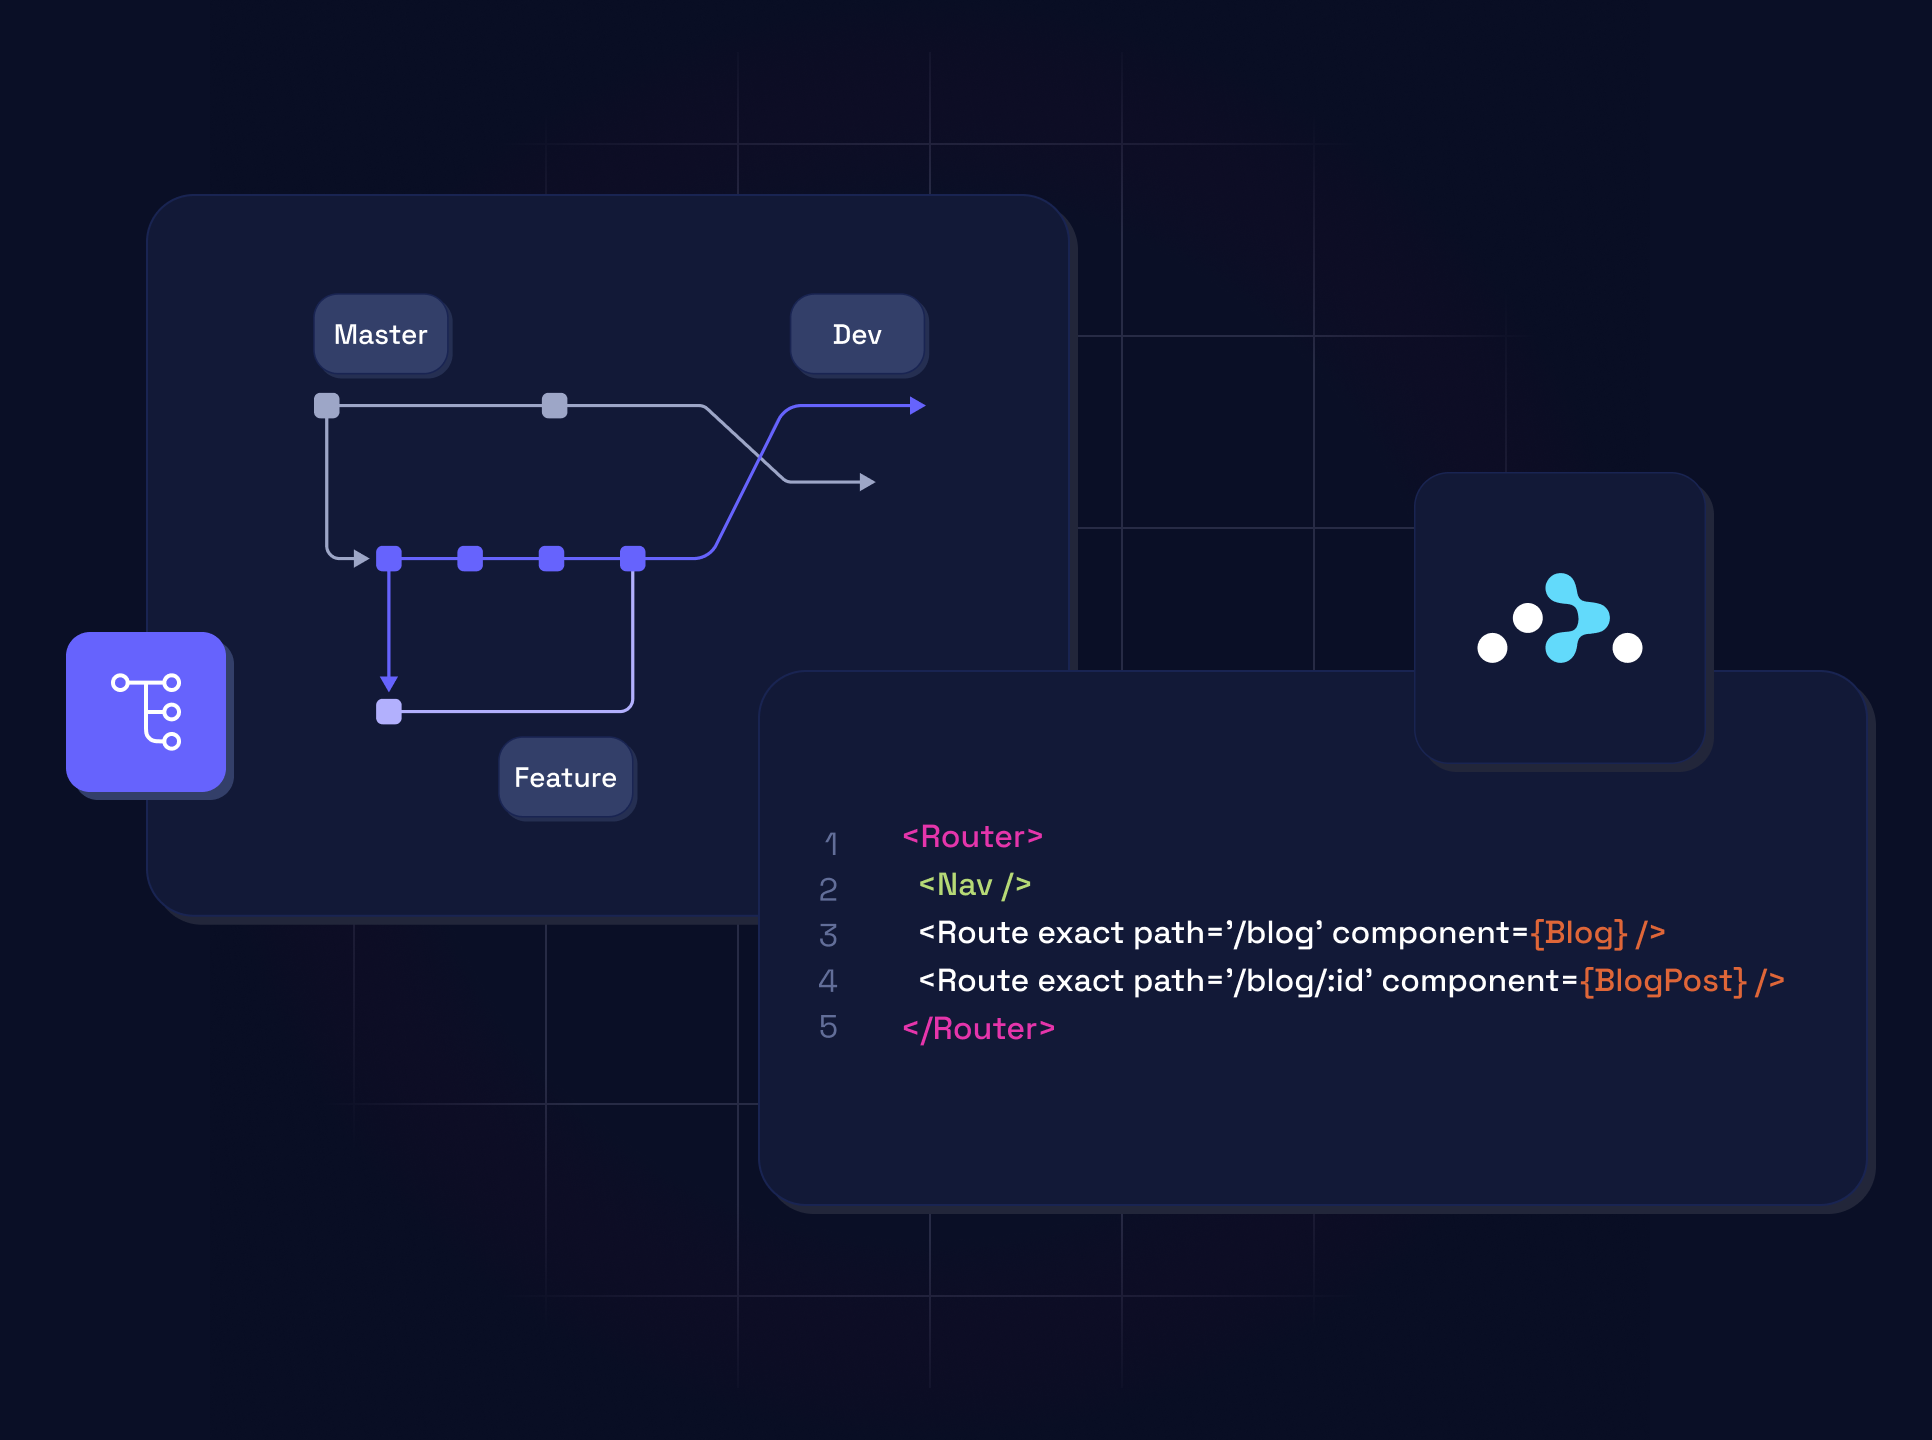
React Router DOM is used to create a navigation system that allows users to navigate between different pages in a multi-page website. In other words, you can use React Router DOM to create a navbar that contains links to different pages in the website. When a user clicks on a link in the navbar, React Router DOM will navigate the user to the corresponding page.
Run this command to install React Router DOM
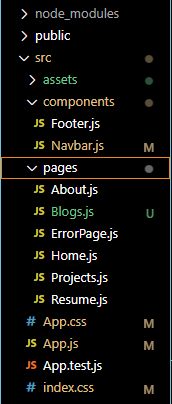
npm install react-router-domTo create an application with multiple pages, we need to create different folders for different files, to keep the workspace organized.
Within the src folder, we'll create a folder name called pages which will contain the menu items. For navigation and footer, we'll create a folder called components in the src folder. Components are reusable and you can call them in multiple pages.
For images you can create a folder src/assets/
src/pages/:
- Home.js
- About.js
- Projects.js
- Blogs.js
- Resume.js
- ErrorPage.js
src/components/:
- Navbar.js
- Footer.js
We'll use React Router to route to pages based on URL.
App.js
import React from 'react';
import { Routes, Route, BrowserRouter } from 'react-router-dom';
import Home from './pages/Home/';
import About from './pages/About';
import Projects from './pages/Projects';
import Blogs from './pages/Blogs'
import Resume from './pages/Resume';
import ErrorPage from './pages/ErrorPage';
export default function App(){
return(
<BrowserRouter>
      <Routes>
         <Route path='/'element={<Home />} />
         <Route path='/about'element={<About />} />
         <Route path='/projects'element={<Projects />} />
         <Route path='/blogs'element={<Blogs />} />
         <Route path='/resume'element={<Resume />} />
         <Route path='*'element={<ErrorPage />} />
       </Routes>
 </BrowserRouter>
 )
 }
components/Navbar.js
 <ul class="navbar-nav ml-auto">
    <li class="nav-item"><a class="nav-link" href="/">Home</a></li>
    <li class="nav-item"><a class="nav-link" href="/about">About</a></li>
    <li class="nav-item"><a class="nav-link" href="/projects">Projects</a></li>
    <li class="nav-item"><a class="nav-link" href="/blogs">Blogs</a></li>
    <li class="nav-item"><a class="nav-link" href="/resume">Resume</a></li>
</ul>
For the files in pages you need to code normally like you do in React making sure they're exported properly in App.js
Additionally, you might need to use a require() function for your images to be rendered properly. Eg: <img src={require("../assets/logo.png")} />'}
Bootstrap can be used inside React App to style elements dynamically. We need to use Bootstrap 4 or 5 as Bootstrap 3 is no longer compatible with hosting providers and it offers less productivity and responsiveness as compared to latter versions.
The simplest method to use Bootstrap is by using Bootstrap CDN in public/index.html file.
In this tutorial we'll use the CDN of Bootstrap 4.
Mention the following links inside index.html
<link rel="stylesheet" href="https://cdn.jsdelivr.net/npm/bootstrap@4.6.2/dist/css/bootstrap.min.css" integrity="sha384-xOolHFLEh07PJGoPkLv1IbcEPTNtaed2xpHsD9ESMhqIYd0nLMwNLD69Npy4HI+N" crossorigin="anonymous">
<script src="https://cdn.jsdelivr.net/npm/jquery@3.5.1/dist/jquery.slim.min.js" integrity="sha384-DfXdz2htPH0lsSSs5nCTpuj/zy4C+OGpamoFVy38MVBnE+IbbVYUew+OrCXaRkfj" crossorigin="anonymous"></script>
<script src="https://cdn.jsdelivr.net/npm/bootstrap@4.6.2/dist/js/bootstrap.bundle.min.js" integrity="sha384-Fy6S3B9q64WdZWQUiU+q4/2Lc9npb8tCaSX9FK7E8HnRr0Jz8D6OP9dO5Vg3Q9ct" crossorigin="anonymous"></script>
That's it! You can now use Bootstrap styles and classes inside your React App. Make sure all the three links are mentioned in the same order as above.
After you're done coding with the entire app, we'll push it to GitHub.
First create a new repository. You can name it anything, for this tutorial, we'll name it first-react-app
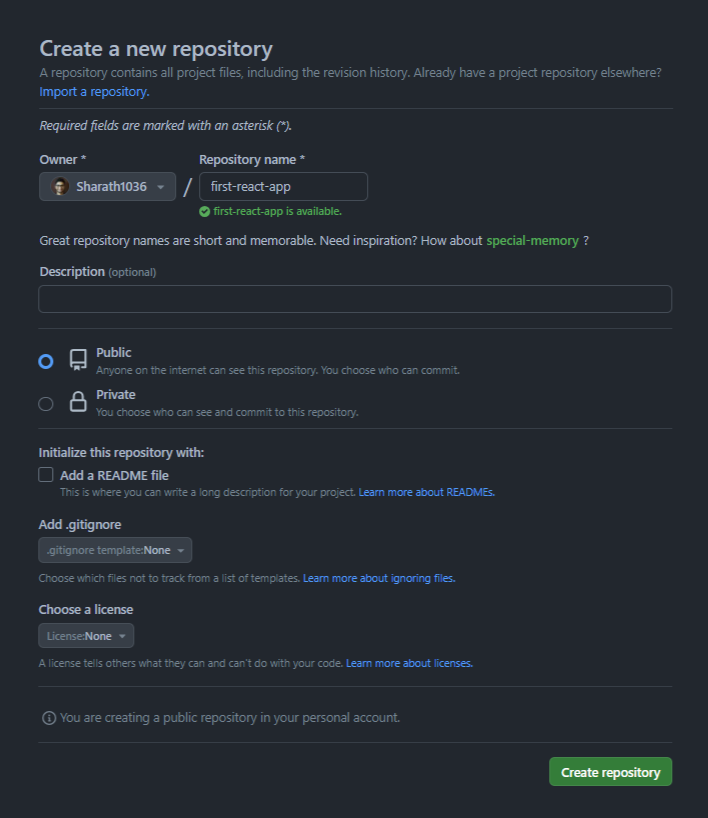
Keep the other settings intact and click on create repository.
Run the following commands to push your code to the GitHub repository.
git init

git add .

git commit -m "first commit"

git branch -M main

git remote add origin https://github.com/username/first-react-app.git

git push -u origin main
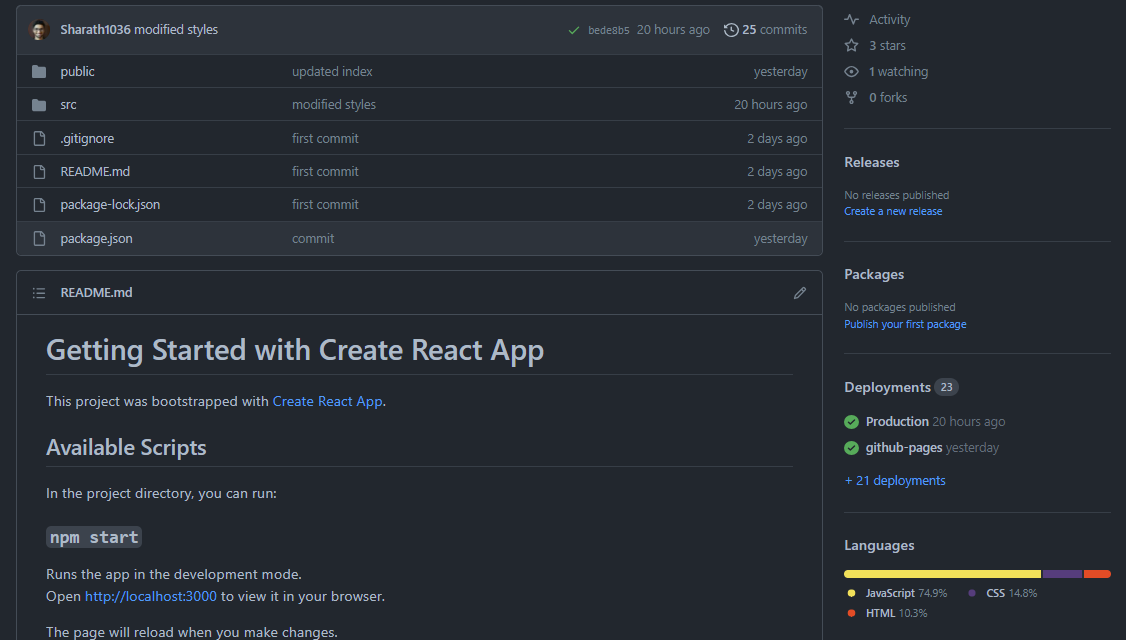
Now click on the Code menu in GitHub and all you'll see your project folder has been deployed to GitHub.
Later on, when you want to make changes in the code and push the changes on GitHub, you can run the following commands:
git status  //shows all the modified files and working files


//For adding all the untracked files

git add file_path1 file_path2

git commit -m "your message"


//For removing deleted files

git rm file_path1 file_path2

git commit -m "your message"


//For commiting only modified files

git commit -m "your message" file_path1 file_path2

git push -u origin main
React Router oriented websites do not integrate well with GitHub Pages. So we cannot host our website on GitHub. However, we can use other hosting options like Netlify, Vercel, Heroku, Digital Ocean, etc. In these websites, you just need to create an account, link your account to GitHub and then you can select the repository which you want to host. Click on deploy and it will process everything automatically. If you want to make changes in the code later on you just need to push the repository to GitHub and the changes will be made automatically.